Good morning people!
Here I am with a new card for you..
You might have seen a sneak peek on my Facebook page already..
This is what I've been working on lately..
You might have seen a sneak peek on my Facebook page already..
This is what I've been working on lately..
I picked one of the GoKreate Large Frames Frilly #6..
The other one behind the image is from the same company but from the #10 set..
The image was cut out with one of the Spellbinders Standard Circles Large and I placed a slightly bigger cut-out from Bazzil Classic Kraft behind that..
That one is from the Fancy Edged Circles set..
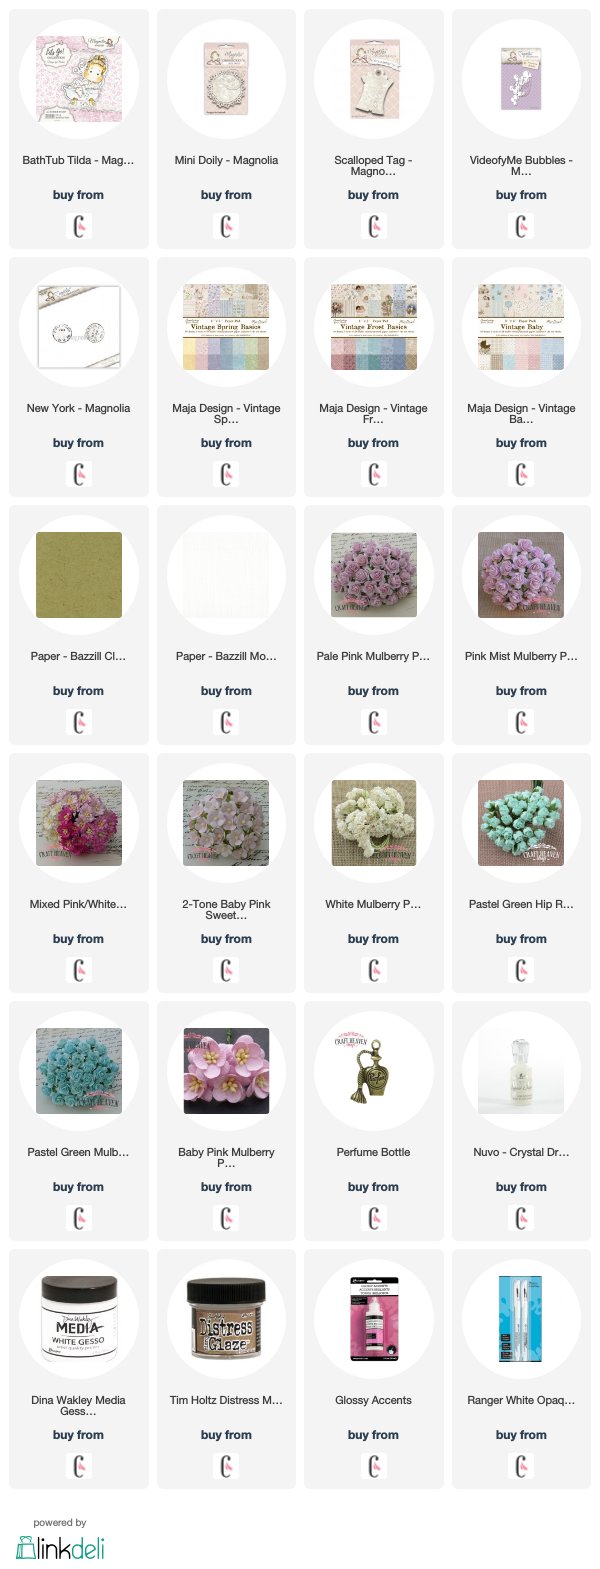
I'm on a hard mission people.. I wanna use as much paper scraps as I can and make room for new supplies, so I found some very, very, very old Reprint papers in my stash and combined those with the gorgeous Maja Design papers from the Vintage Spring Basics, Vintage Frost Basics and Vintage Baby 6x6 Paper Pads..
I'm sure you know this cutie already..
Her name is BathTub Tilda from the Let's Go Collection 2019..
I used her once before to make a video tutorial on how to transfer a coloured image onto a candle..
If you haven't seen it yet, I would be thrilled if you watched it now..
I think this is a super fun technique..
Her name is BathTub Tilda from the Let's Go Collection 2019..
I used her once before to make a video tutorial on how to transfer a coloured image onto a candle..
If you haven't seen it yet, I would be thrilled if you watched it now..
I think this is a super fun technique..
As usually I played with my Distress Inks to colour her up..
Here's a list of all the colours if you're interested:
Skin
Vintage Photo, Tattered Rose
Cheeks
Tattered Rose, Aged Mahogany
Hair
Antique Linen, Walnut Stain
Bathtub
Pumice Stone, Black Soot / Legs: Scattered Straw, Dried Marigold, Pumice Stone
Bubbles
Weathered Wood, Pumice Stone
Weathered Wood, Pumice Stone
Background
Weathered Wood, Pumice Stone, Antique Linen
After I was done with the colouring, I used a Wink of Stella glitter brush to add sparkle to the bubbles and I covered them all with Glossy Accents..
It's super sparkly and the shiny finish is just a cherry on top..
The white dots around her are made with Frantage and I always seal the image with a tiny bit of Distress Micro Glaze to preserve it as much as possible..
The doiles are everywhere.. Again.. Honestly I just cannot work without them..
The texture they give is such a nice touch, don't you think?
Same goes for cheesecloth..
A must for me..
I've used the same Spellbinders circle dies on the inside and the postmarks are also the same ones I used around Tilda..
These are Magnolia stamps as well and this specific set is called New York..
There's a bit of soft lace tied on the tags and another super gorgeous lace from Craft Heaven Shop peeking out on the sides..
And the Perfume Bottle charm hanging on there? Don't you love it?
The Scalloped Tag die is from Magnolia, and so is the Mini Doily that I used on the back of the card..
Another Doohickey you can spot on here is the VideofyMe Bubbles.. Simply perfect for this image..
The paper flowers are from WOC..
They are covered in Gesso and I also added some light touches of Nuvo Crystal Drops on them to make them look like they have water droplets on..
My choice was Morning Dew.. This one dries clear so it was perfect for the job..
The half-pearls are from my stash..
Well.. I think I covered it all..
Hope you'll come back for more..
If you have questions don't hesitate to contact me..
I'm more than glad to help..
Hope you'll come back for more..
If you have questions don't hesitate to contact me..
I'm more than glad to help..
Thanks so much for stopping by!
I wish you all an amazing day!
I wish you all an amazing day!
xoxo
Tina


Ni komentarjev:
Objavite komentar