Good morning everyone!
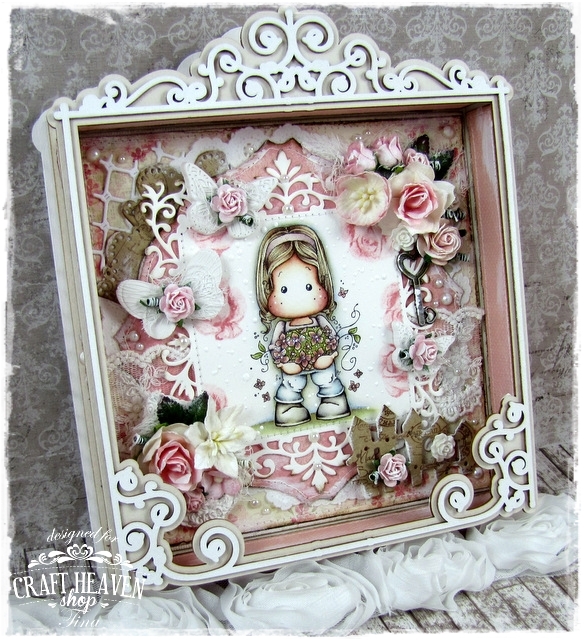
Here's a new project for the TOMIC Blog that I hope brightens your day..

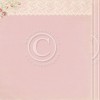
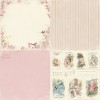
The papers are a mix of Vintage Summer Basics, Vintage Autumn Basics and Vintage Frost Basics from Maja Design..
The kraft details are made out of Bazzill Classic Kraft 12x12..
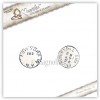
I stamped some vintage postmarks on those.. You know I love them..

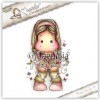
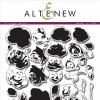
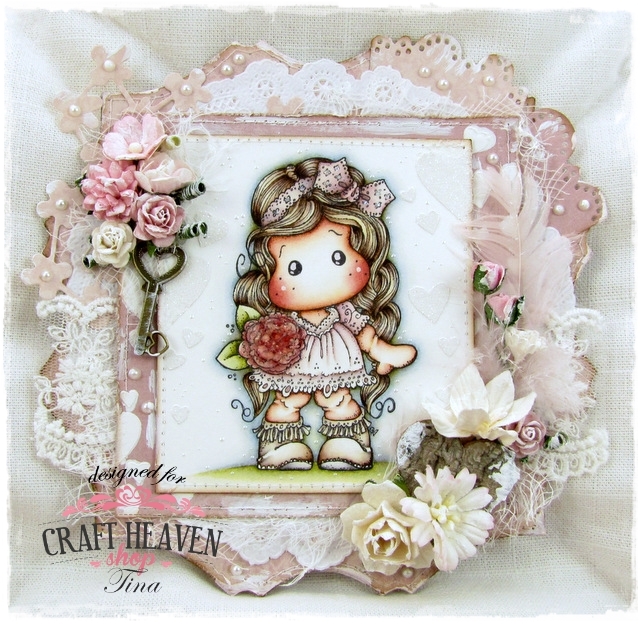
Here is the image.. Stamped with Archival Ink and coloured with Distress Inks..
Her name is Tilda with Early Bird and was released in 2018..
It's one of the super cute stamps from the Le Fleur Upgrade..
Here's a full list of the colours I used if you're interested..
Skin
Vintage Photo, Tattered Rose
Cheeks
Tattered Rose, Aged Mahogany
Hair
Antique Linen, Walnut Stain
Dress
Victorian Velvet, Pumice Stone, Black Soot
Heart Pockets
Festive Berries, Aged Mahogany
Boots
Pumice Stone, Black Soot
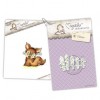
Bird
Squeezed Lemonade, Scattered Straw, Hickory Smoke
Squeezed Lemonade, Scattered Straw, Hickory Smoke
Grass
Old Paper, Peeled Paint, Forest Moss

Now let's talk about the dies..
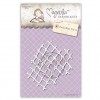
The gorgeous circle I used to cut out the image is a CreaLies Circle with Open Scallop..
I just cannot recommend these dies enough..
They cut beautifully and you can find them in all kind of shapes, with all kinds of finishes..
And you get soooo many different sizes in each set..
I tell you.. I'm in love with these and I will use them a whole lot for sure..
Of course I just had to use the square set as well.. They complement each other marvellously..
The square set is called Squares with Open Scallop..
You can find them all HERE..
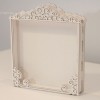
The card's base was made with a GoKreate Frame Frilly #15..
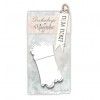
The tags and fence are both Magnolia Dohickey dies..
One is called Bloomy Tag and the other Lovely Fence..
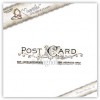
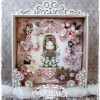
I used Spellbinders Standard Large Circles and Petite Scalloped Circles Large for my handmade logo on the back..

A shot from the side to show you some more details..
The chipboard element is from Scrapiniec.. From the Boho Love collection to be more precise..
I made the dots around the image adding some Frantage embossing powder..
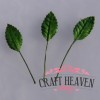
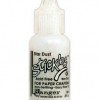
Not sure if you can tell but the pockets on her pants are covered with Nuvo Crystal Glaze and the flowers in her hair are all sparkly because I added some Stardust Stickles on top of them..
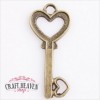
I think the House charm is absolutely adorable.. Isn't it?
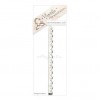
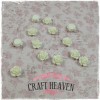
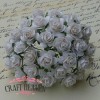
I've used my sewing machine to stitch the paper edges, added lots of half-pearls and all sorts of WOC flowers all over the place..
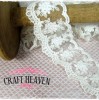
There's also some cheesecloth here and there and different kinds of absolutely gorgeous lace..
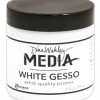
All with a light touch of Dina Wakley Media Gesso on..

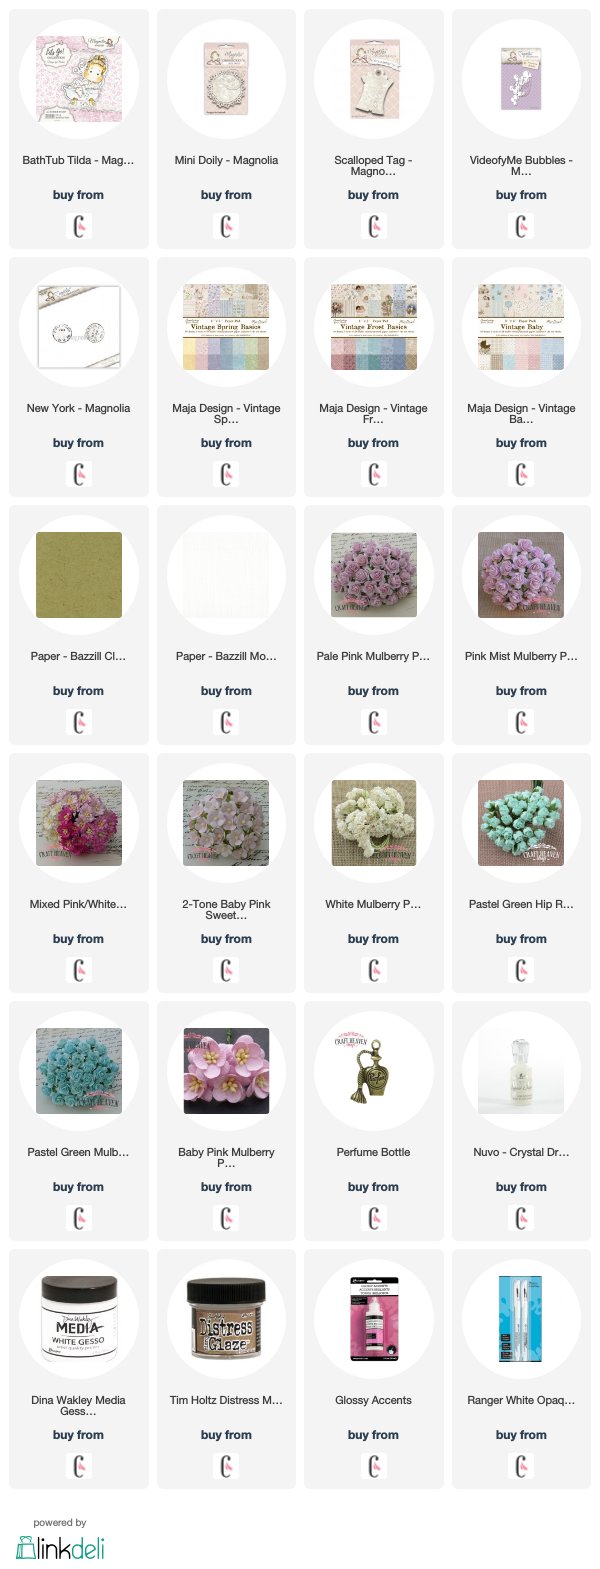
If you're interested in the products I used, don't forget to click on the links below..
That's all for today my lovely followers..
I wish you all a fantastic day!
And of course.. Thanks for stopping by!
xoxo
Tina